百度智能云IPv6搭建LNMP站点
发表于 · 归类于
技术 · 阅读完需 12 分钟 ·
阅读量 报告错误
为什么要做这件事?(前言、业务背景)
在互联网呈现爆炸式发展的今天, IPv4网络地址数量匮乏等问题将会影响到我国的互联网发展与应用,制约物联网、5G等新业务开展。今年4月国家工信部发布了《关于开展2019年IPv6网络就绪专项行动的通知》,重点任务包括网络基础设施IPv6能力就绪等。IPv6即互联网协议第6版,是互联网工程任务组(IETF)设计的用于替代IPv4的下一代IP协议,使用IPv6网络不仅能解决网络地址资源数量的问题,而且也解决了多种接入设备连入互联网的难题。5G时代即将来临,IPv6网络将成为互联网新业务发展与运用的强有力支撑。未来,个推也将不断打磨自身技术,积极探索并开展IPv4至IPv6之路,实现IPv6网络的全面启用。
浅谈IPv4至IPv6演进的实施路径
百度智能云-全系列云计算产品-百度生态独家支持
配置BCC-ipv6地址
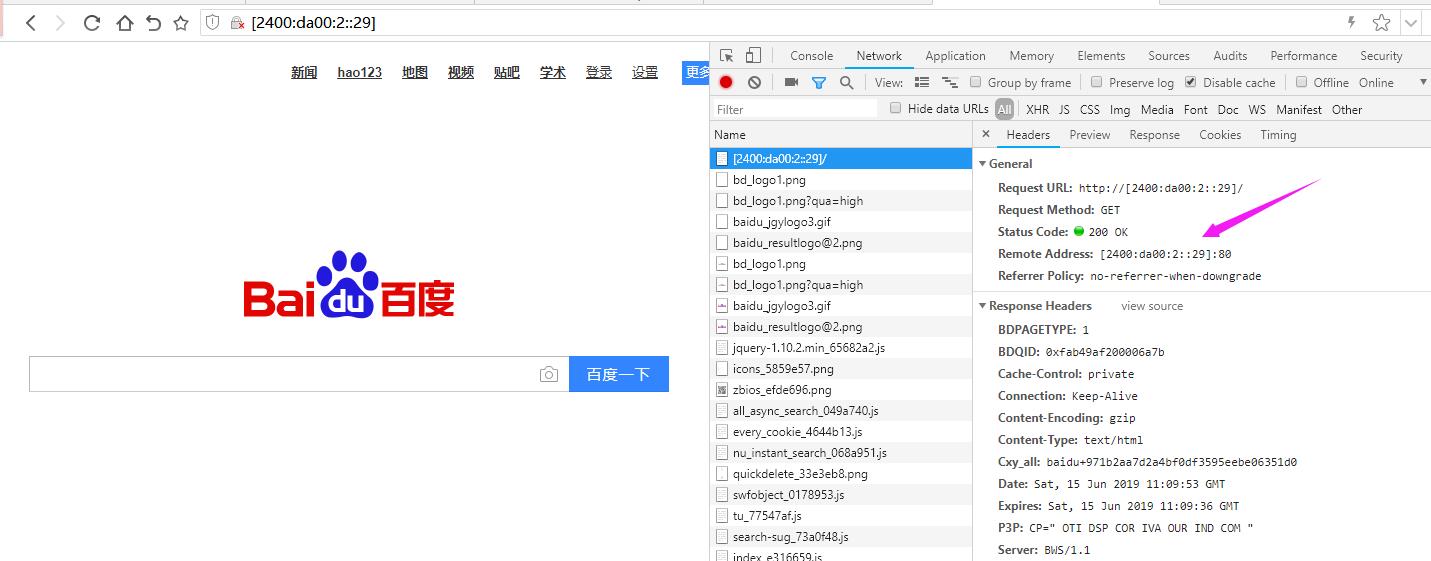
(1)本地环境检测:
- 百度DNS:
2400:da00:2000:1f01::3 - ipv6.baidu.com解析:
2400:da00:2::29 - 访问截图:(证明本地是有IPv6地址的)
(2)服务器选购
- BCC选购
- 区域选择:华北保定(目前只有华北保定region支持BCC-IPv6)
- 内存:2G、网络:1M
- 系统选择:CentOS7.6
- 配置EIP
- 拥有IPv4地址和IPv6地址(购买BCC请选择分配EIP)
- 配置VPC
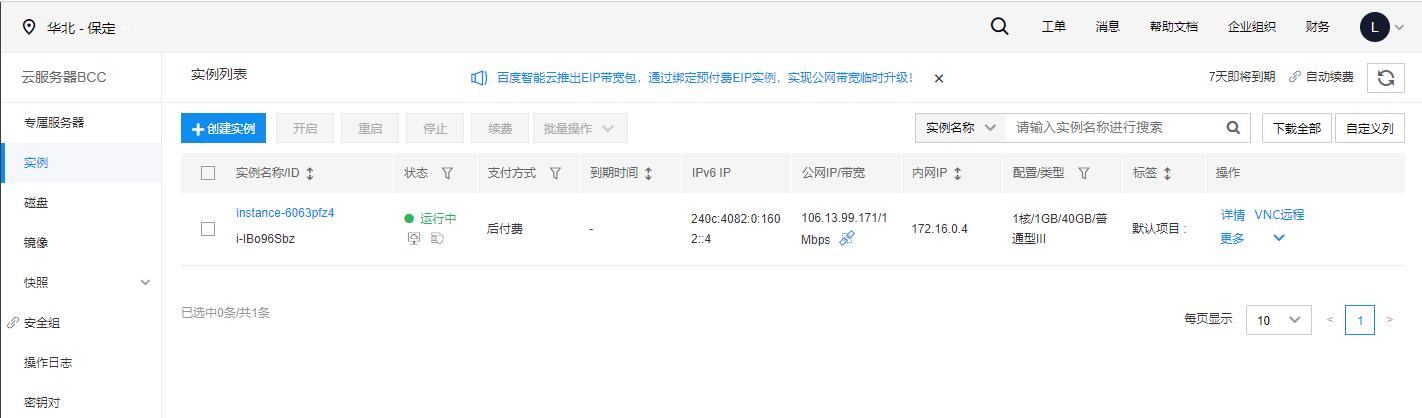
1、BCC实例
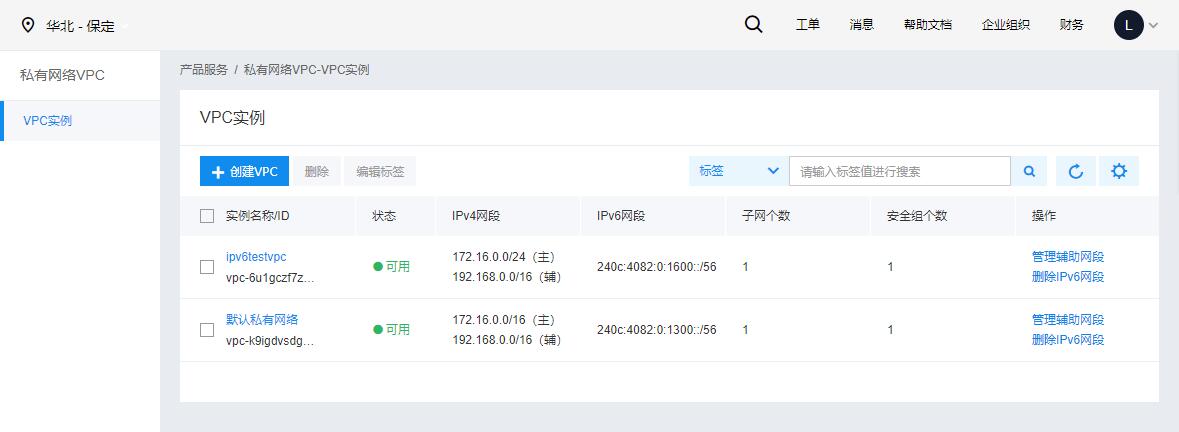
2、VPC实例
主要参考这篇文档 配置IPv6 VPC
- 简单步骤如下:
- 创建一个新的VPC,勾选分配IPv6网段。
- 点击右侧分配IPv6网段
- 创建子网,勾选分配IPv6网段
- 创建IPv6公网网关(这个是要收费的)
- 配置IPv6安全组
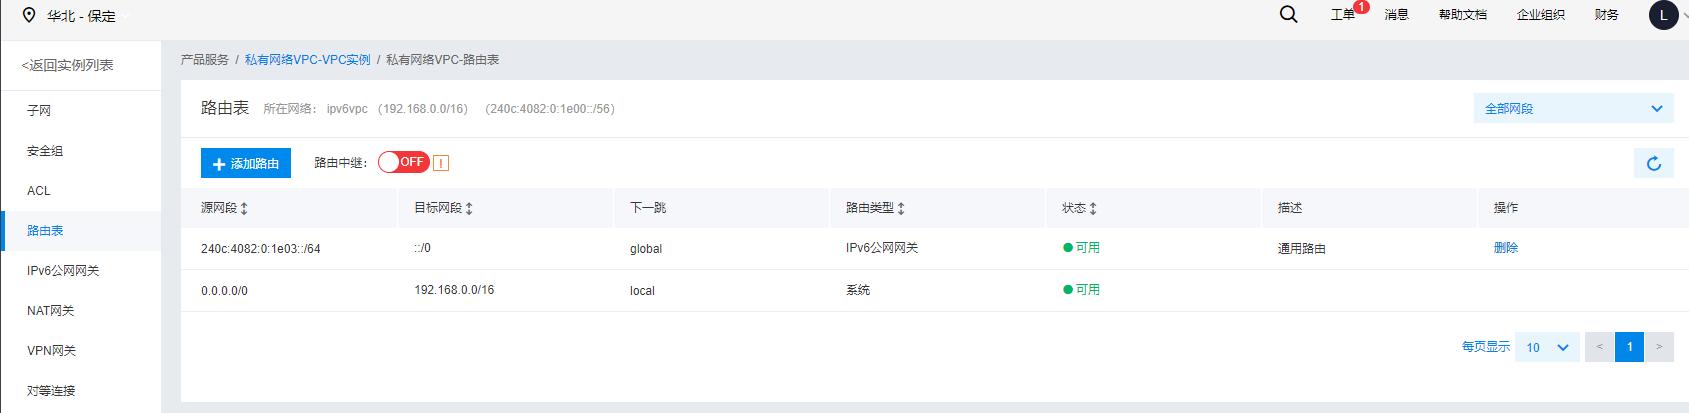
- 配置IPv6路由
(其实文档写得很清除了,每个步骤总是缺一不可)
路由配置:添加路由->IPv6->路由类型选择IPv6公网网关
3、确认BCC已获取 IPv6 地址,并已连通IPv6外网
[root@baidu-bcc ~]# ifconfig
eth0: flags=4163<UP,BROADCAST,RUNNING,MULTICAST>  mtu 1500
        inet 172.16.0.8  netmask 255.255.240.0  broadcast 172.16.15.255
        inet6 240c:4082:0:1311::4  prefixlen 128  scopeid 0x0<global>
        inet6 fe80::f816:3eff:fe27:31c2  prefixlen 64  scopeid 0x20<link>
        ether fa:16:3e:27:31:c2  txqueuelen 1000  (Ethernet)
        RX packets 25136  bytes 267507090 (255.1 MiB)
        RX errors 0  dropped 0  overruns 0  frame 0
        TX packets 20665  bytes 3458303 (3.2 MiB)
        TX errors 0  dropped 0 overruns 0  carrier 0  collisions 0

lo: flags=73<UP,LOOPBACK,RUNNING>  mtu 65536
        inet 127.0.0.1  netmask 255.0.0.0
        inet6 ::1  prefixlen 128  scopeid 0x10<host>
        loop  txqueuelen 1000  (Local Loopback)
        RX packets 909  bytes 413801 (404.1 KiB)
        RX errors 0  dropped 0  overruns 0  frame 0
        TX packets 909  bytes 413801 (404.1 KiB)
        TX errors 0  dropped 0 overruns 0  carrier 0  collisions 0

[root@bcc-test ~]# ping6 240c::6666 -c 5
PING 240c::6666(240c::6666) 56 data bytes
64 bytes from 240c::6666: icmp_seq=1 ttl=53 time=24.9 ms
64 bytes from 240c::6666: icmp_seq=2 ttl=53 time=24.3 ms
64 bytes from 240c::6666: icmp_seq=3 ttl=53 time=24.3 ms
64 bytes from 240c::6666: icmp_seq=4 ttl=53 time=24.3 ms
64 bytes from 240c::6666: icmp_seq=5 ttl=53 time=24.3 ms

--- 240c::6666 ping statistics ---
5 packets transmitted, 5 received, 0% packet loss, time 4005ms
rtt min/avg/max/mdev = 24.329/24.476/24.930/0.248 ms
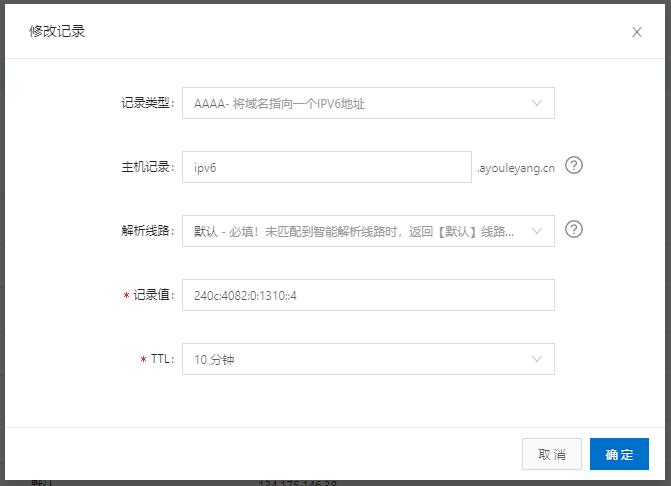
(3)域名解析
- 将域名解析到一个IPv6地址
240c:4082:0:1310::4
(4)站点搭建
1、LNMP安装
wget http://soft.vpser.net/lnmp/lnmp1.6.tar.gz -cO lnmp1.6.tar.gz && tar zxf lnmp1.6.tar.gz \
&& cd lnmp1.6 && LNMP_Auto="y" DBSelect="5" DB_Root_Password="lnmppass" \
InstallInnodb="y" PHPSelect="9" SelectMalloc="1" ./install.sh lnmp
2、Nginx配置
server
    {
        listen [::]:80;
        server_name ipv6.ayouleyang.cn;
        index index.html index.htm index.php default.html default.htm default.php;
        root  /home/www/web/public;
        # 省略部分代码
    }
3、CURL测试
CURL模拟浏览器请求 curl http://ipv6.ayouleyang.cn -v
[root@bcc-test home]# curl 'http://\[240c:4082:0:1e03::4\]/' --head -v
* About to connect() to 240c:4082:0:1e03::4 port 80 (#0)
*   Trying 240c:4082:0:1e03::4...
* Connected to 240c:4082:0:1e03::4 (240c:4082:0:1e03::4) port 80 (#0)
> HEAD / HTTP/1.1
> User-Agent: curl/7.29.0
> Host: [240c:4082:0:1e03::4]
> Accept: */*
>
< HTTP/1.1 200 OK
HTTP/1.1 200 OK
< Server: nginx/1.12.2
Server: nginx/1.12.2
< Date: Tue, 18 Jun 2019 08:47:47 GMT
Date: Tue, 18 Jun 2019 08:47:47 GMT
< Content-Type: text/html
Content-Type: text/html
< Content-Length: 3700
Content-Length: 3700
< Last-Modified: Fri, 10 May 2019 08:08:40 GMT
Last-Modified: Fri, 10 May 2019 08:08:40 GMT
< Connection: keep-alive
Connection: keep-alive
< ETag: "5cd53188-e74"
ETag: "5cd53188-e74"
< Accept-Ranges: bytes
Accept-Ranges: bytes

<
* Connection #0 to host 240c:4082:0:1e03::4 left intact
Nginx直接返回用户IP:
location /ip {
    default_type text/html;
    return 200 '$remote_addr';
}
响应结果为:
[root@bcc-test html]# curl http://ipv6.ayouleyang.cn/ip
240c:4082:0:1e03::4
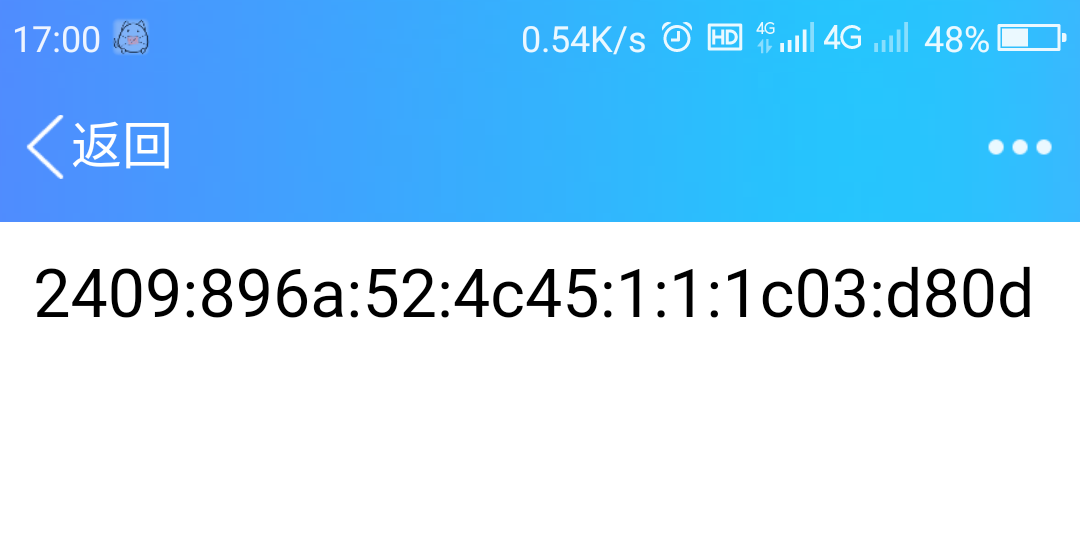
手机端测试:(手机有运营商分配的IPv6)
(5)开启双栈模式
1、同一个域名可以同时添加 A 记录与 AAAA 记录,一般来说,若有 IPv6 网络,优先解析 AAAA 记录,无 IPv6 网络下,则解析 A 记录。
域名解析如下:
A       39.106.210.153
AAAA    240c:4082:0:1310::4
Nginx双栈配置如下:
listen  [::]:80;
listen  0.0.0.0:80;
词语解释: